
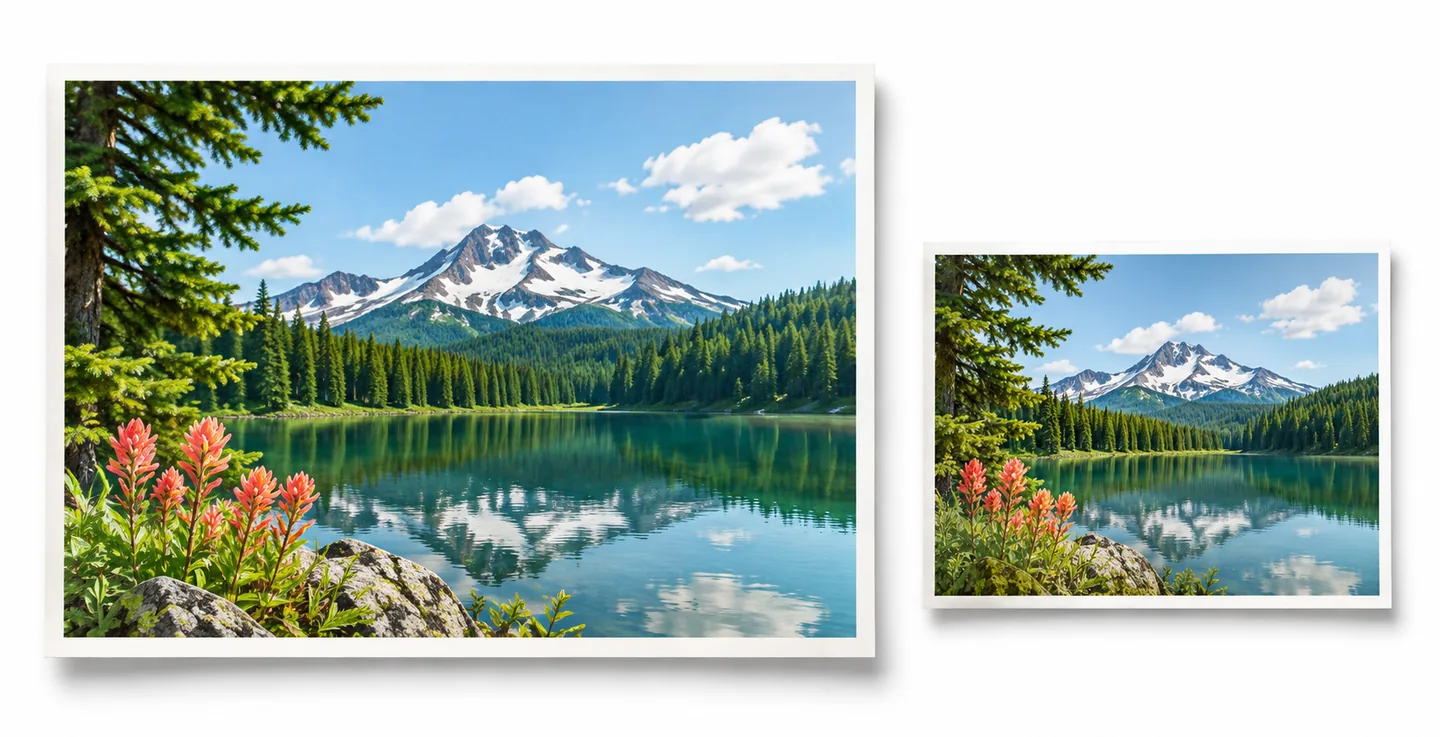
Quick answer: Read the upload instructions first. Keep an untouched original, crop unused areas, resize only when the required display dimensions allow it, and choose a format the destination accepts. Adjust compression in small steps, then inspect the downloaded file's actual byte size, dimensions, format, and appearance.
Reduce image size in KB: file size is not dimensions
A file-size limit and a pixel-dimension rule describe different things. Kilobytes refer to how much storage the exported file uses; dimensions describe its width and height in pixels. A 1200 by 800 image can be a small or large file depending on its format, image detail, transparency, and compression. Changing one number does not automatically satisfy the other requirement.
Start with the destination's wording. If it says under a stated number of KB, the saved file must fit its byte ceiling. If it also lists a minimum or maximum width and height, keep those values in range. Upload forms may round file sizes on screen, so treat an exact byte limit or rejection message as more useful than a rounded display label.
| Requirement | What it measures | Where to verify it |
|---|---|---|
| File size | Bytes stored in the exported file | File properties or the upload form |
| Image dimensions | Pixel width and height | Image details or the editor's size panel |
| Format | How the image is encoded | File type and accepted-format list |
Choose the right way to reduce image size in KB
Most image files can be made smaller by changing one or more of four things: the visible crop, pixel dimensions, encoding format, or compression strength. Use the least destructive change that meets the destination's requirements. The right order depends on the image: a photo, a screenshot with small text, and a transparent logo do not respond to the same settings.
- Crop unused edges when framing rules allow it; do not crop required parts of an ID photo, document, or signature.
- Resize while preserving the aspect ratio, and respect any minimum pixel dimensions from the form.
- Use compression gradually for photographs; check faces, fine detail, gradients, and edges at the intended display size.
- Treat metadata removal as a minor extra, not a dependable way to meet a large size reduction.
- Avoid repeatedly saving an already compressed JPEG; return to the original before trying another export.
Choose a format the upload form accepts
Format choice can make a visible difference, but the smallest option is not automatically the right one. A photograph has continuous tones; a screenshot or chart has sharp edges and small text; a logo may need transparency. First check the allowed extensions. A portal that accepts only JPEG will reject a smaller WebP file even if the picture looks fine.
| Image | Starting format | What to inspect |
|---|---|---|
| Photograph | JPEG, or WebP when accepted | Skin, sky gradients, foliage, and fine texture |
| Screenshot or chart | PNG or another supported lossless option | Small text, thin lines, and sharp edges |
| Transparent logo or signature | PNG or supported WebP with transparency | Transparent areas and clean edges |
| Strict upload portal | One of the explicitly accepted formats | Extension, size ceiling, and required dimensions |
A repeatable workflow for strict upload limits
Read the upload requirements
Write down the maximum file size, accepted formats, and any width or height range. Note whether the form says under a limit or requires an exact size.
Make a separate working copy
Keep the full-resolution original untouched. Use one copy for the export so you can restore detail if the result looks soft.
Crop or resize only where it helps
Remove irrelevant edges and reduce dimensions only when the destination allows it. Preserve the aspect ratio unless the form explicitly requires a crop.
Choose a compatible format
Use the allowed format that suits the content. Photos, text-heavy screenshots, and transparent graphics need different checks.
Export, inspect, and adjust
Lower compression quality in small steps if needed. Reopen the export, check its real size and dimensions, and compare the important details before uploading.
- 1CheckLimit, format, dimensions
- 2PrepareCopy and useful crop
- 3ReduceResize, then compress
- 4VerifyBytes and visible detail
The workflow is a starting order, not a guarantee that every image will reach the same KB size at the same settings.
Use target examples without assuming one size fits every form
A number such as 20KB, 50KB, or 100KB is only useful when it matches the receiving site. A signature thumbnail and a passport-style photo may have different pixel rules even when their byte limits look similar. Use the actual instructions for your application, not a generic chart as a substitute.
If you want to test a real file against a custom ceiling, use the Image2KB image compressor and review the result before you upload it.
| Example ceiling | First question | Possible next step |
|---|---|---|
| 20KB | Is this a signature, icon, or small photo? | Check minimum dimensions and crop before stronger compression. |
| 50KB | Does the form specify portrait dimensions or format? | Use those rules, then compare a resized copy with the original. |
| 100KB | Is a photograph being uploaded as PNG? | If JPEG is allowed and transparency is unnecessary, test a JPEG copy. |
| 200KB | Is this intended for a web page or a form? | Follow the site's actual ceiling and display dimensions. |
Verify the exported file before submitting it
Inspect the file that will actually be uploaded, not only the preview in an editor. Reopen the saved copy and check its size, dimensions, and file type. A preview may show an in-progress result while the download still contains a different export or name. If the form rejects it, read the error and compare each stated requirement again.
Look at the details that matter for the task. For a portrait, inspect the face and crop. For a signature, confirm strokes remain continuous. For a screenshot, zoom in on small labels and thin lines. For a transparent logo, make sure the background has not become solid. A file that passes the byte limit but is unreadable is not a successful result.
- Confirm the downloaded file is below the stated maximum, with a little room if the form allows it.
- Check pixel width and height against any minimum or maximum dimensions.
- Confirm the extension and format are accepted by the destination.
- Compare the subject, text, edges, and transparency at the size people will view it.
- Keep the original and the accepted export in separate files.
Troubleshoot an image that is too large or looks blurry
If the file remains above the ceiling, check dimensions before forcing a much lower quality setting. A large image may contain more pixels than the destination needs. Crop empty areas or resize to a permitted display size, then export again. If the format is allowed to change, compare a suitable alternative using a new copy.
If the result looks blurry or blocky, return to the original. Restore some dimensions or quality, try a different accepted format, and inspect again. Small text and sharp edges often need a different approach from photographs. There is no single quality percentage that produces the same file size for every image because the amount of detail and the encoding format vary.
Frequently asked questions
These answers cover the checks that matter when a portal sets a specific image-size limit.
Can I reduce image size in KB without losing quality?
You can often reduce unnecessary pixels or choose a more suitable format with little visible change, but lossy compression discards image information. Keep the original and inspect the export; no method can promise zero loss for every image and target.
Is file size in KB the same as image dimensions?
No. KB describes the saved file's byte size; dimensions describe pixel width and height. A file can meet one requirement and fail the other, so check both when the form lists both.
Which format makes an image smallest?
There is no single smallest format for every image. JPEG and WebP can work well for photographs when accepted; PNG is often more suitable for text, sharp edges, or transparency. Follow the upload form's allowed formats.
Should I resize or lower quality first?
If the image has more pixels than its display needs, crop or resize within the allowed dimensions first. Then adjust compression gradually and compare the result. Keep the aspect ratio unless the destination requires a crop.
Why does the uploaded size differ from the size I expected?
The image's detail, format, dimensions, and export settings affect its byte count. Portals may also round the displayed value. Check the actual saved file and aim below the stated maximum rather than relying on a quality percentage.
What should I do if the form still rejects my image?
Read the rejection message and verify the file's bytes, dimensions, format, and extension. Correct the specific failing requirement; do not keep lowering quality when the problem is an unsupported format or pixel dimension.